Nikon D850 adventure at Bromo National Park - August 2018 Edition
- Andrew JK Tan
- Aug 19, 2018
- 4 min read
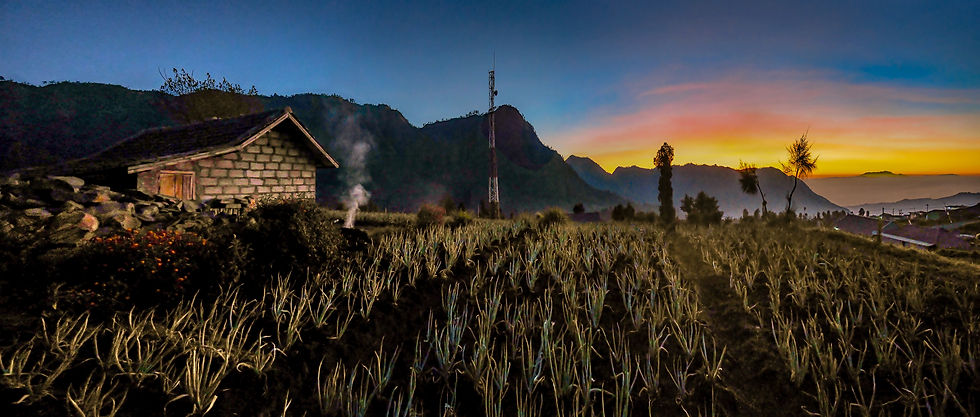
Above: Panorama created from a 4 shots (24mm focal length shots) photomerge
Bromo National Park , Cemoro Lawang , Ngadisari is definitely my favourite location for a great photography break.
I have to been to Bromo National Park more then 12 times now and each time I can still photograph new scenes everytime I visit. This location is till now still one of the best locations in South East Asia to photograph the Milky Way and dramatic sea clouds that create unique landscapes everytime they appear.
Hardware for this trip was simple DSLR wise , I just used my Nikon D850 setup with the additional battery grip. With this setup , I could do away with bringing extra batteries and my battery chargers. Two fully charged batteries in my Nikon D850 easily lasted the entire duration of my 4D3N of photography sessions with more than 80% of power still left after all the sessions.
One of the cool features in the D850 is that it is capable of using the e-shutter (electronic) during the intervalometer sessions that were required to capture all the shots to create star-trail images. Using the e-shutter is a significant power saver.
So here goes , hope you enjoy my latest Bromo series !
The great thing about photographing the milkyway during the August to October months are the opportunities to capture Blue hour milkyway scenes. Unfortunately the milkyway is always very high in the sky even just after 45minutes after sunset so you will need your widest focal length lenses to capture the entire milkyway with sufficient foreground interest.
For this shot , I did a two shots (using a Nikkor 14-24mm @14mm focal length) vertorama to create this final image just to get sufficient foreground. You can see the dramatic sea clouds covering the caldera (and volcanoes) and Cemoro Lawang village. Captured from King Kong hill.

A 3 shots panorama created with my Nikkor at 24mm focal length.
A great example to show that you don't really have to worry too much about not bringing ultra wide angle lenses , a 24mm lens will suffice if you know the panorama technique. The best thing is that it is not difficult. I did not use any special tools and processing was very fast , less than 2 minutes to merge a multishot panorama.
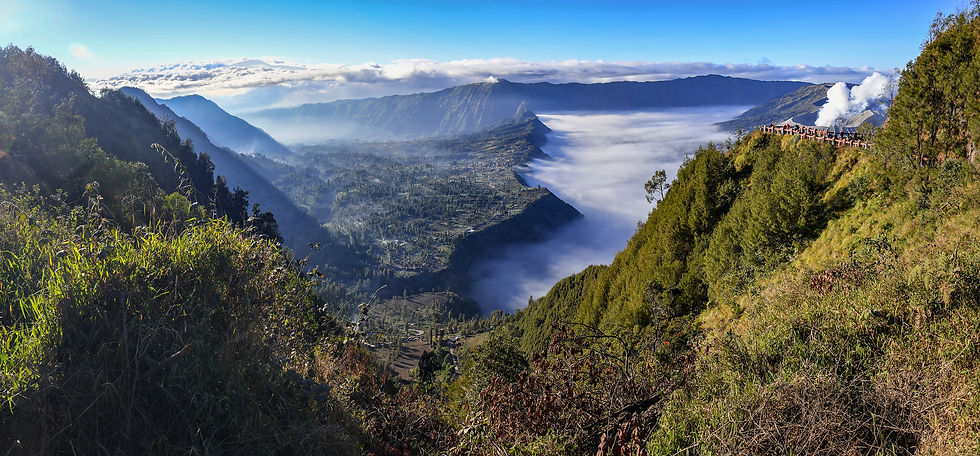
Another 2 shots (24mm focal length) vertorama creation of the spectacular sea clouds filling the Bromo Caldera , it's a spectacular sight indeed.

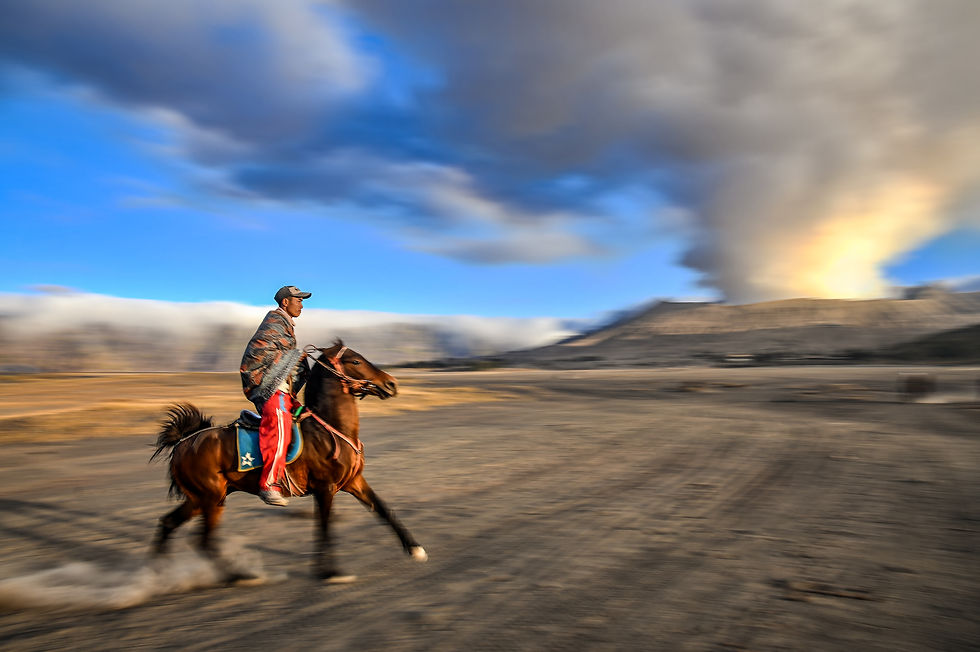
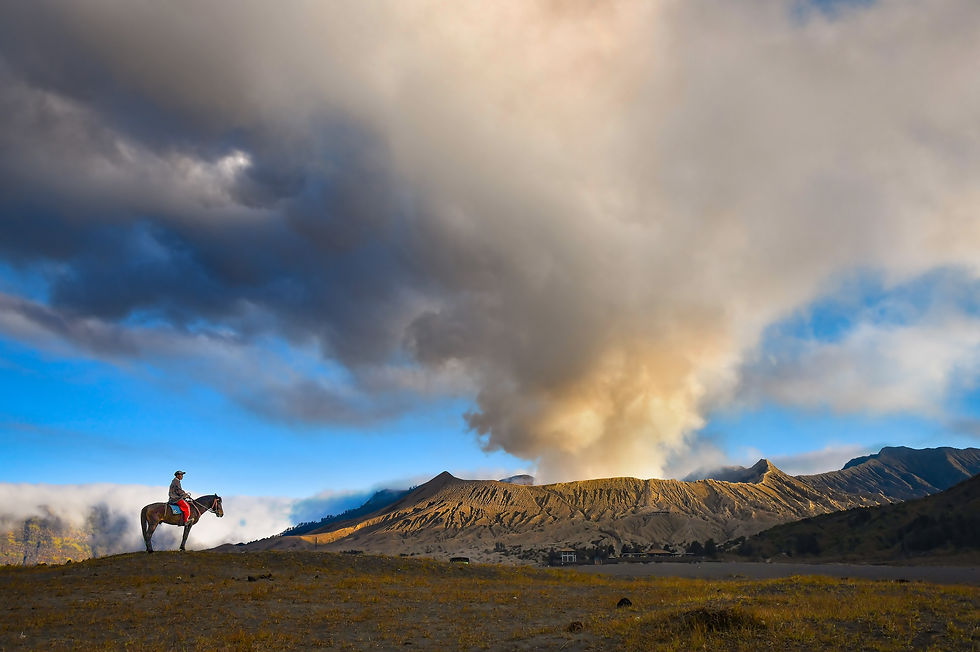
This image was a panning take of the iconic Bromo Tengger Horseman. I panned using a shutter speed of 1/25 seconds. It does take some practice any my goal for such a panning shot is to always get the horseman's face as sharp as possible.
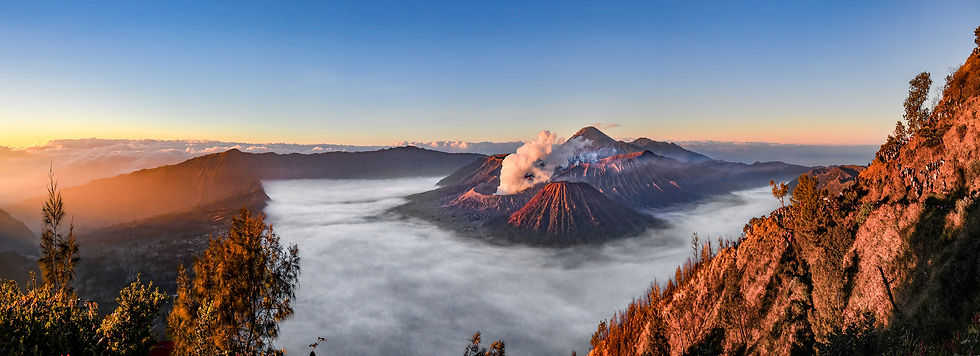
A 6 shots (14mm focal length) merged panorama showing sea clouds fillling the caldera and the strong orange light /ray was from the spectacular sunrise off to the right as the sun just rises above the peaks. The orange tones in this image were as witnessed.
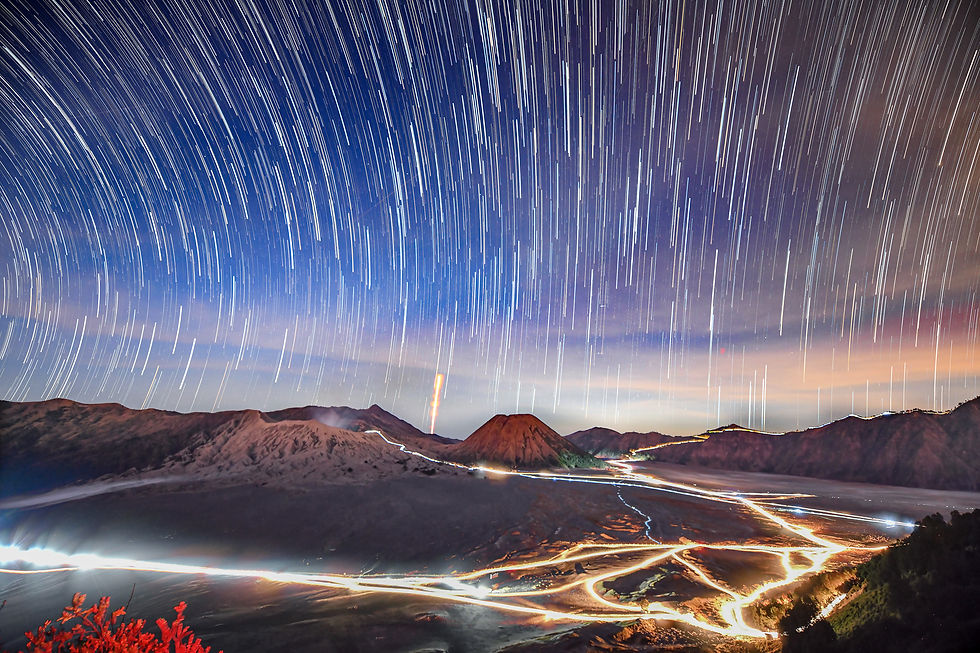
This shot was a 76 shots stack using Photoshop CC to create the unique star-trails. The shot also shows the dense traffic light trails of the 4WD Jeeps and motorbikes that ferry the visitors and photographers to the various viewpoints to witness the famous Bromo sunrise. This happens daily. Bromo National Park is now so popular that to get a spot at the popular viewpoints , I had to leave my homestay at 2am. For reference , sunrise was around 5:30am so waiting more than 3 hours in the cold (12 DegreesC and colder if the wind blows) can be a challenge for many photographers.
Photographers also have to deal with lens condensation which is bad when the photographer is in the middle of his or her star-trail captures. I have never really faced this problem at all but just in case having a few heat packs handy and placing them on your lens (at the start) will help prevent this issue.
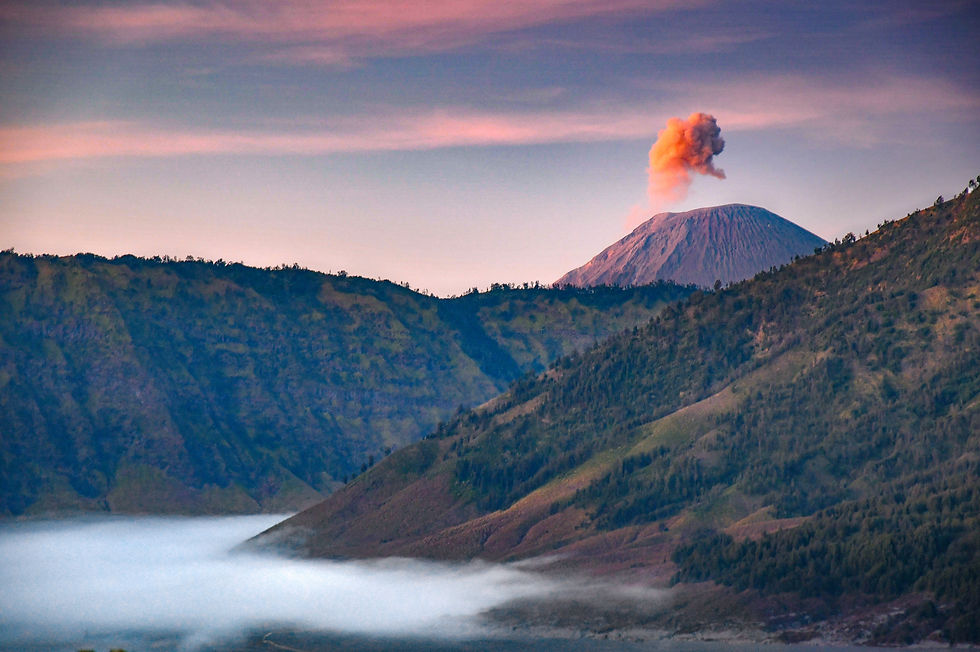
A spectacular puff from Mount Semeru and active volcano during sunrise.
The icons - Bromo Tengger Horseman and an active Mount Bromo captured in the same frame.
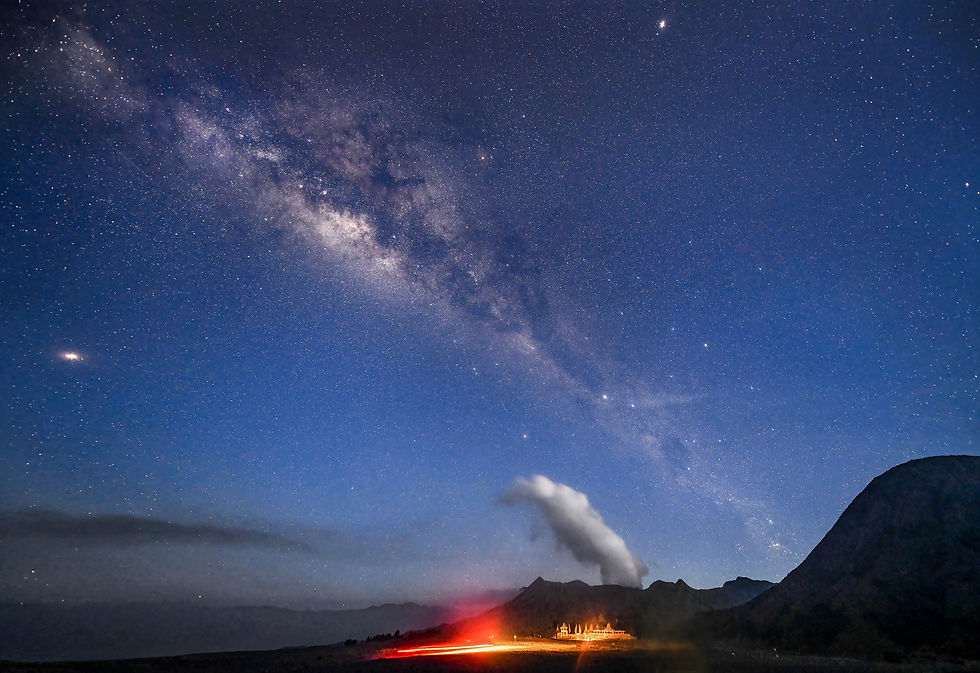
More Milkyway images below , two during blue hour , one just after blue hour & the last one (image with the radio antennae) was captured after dinner close to 10pm. I was very fortunate as the milkyway sightings were almost perfect. The sky was so cooperative and I was always happened to be in the right location to capture the milkyway without any delays.
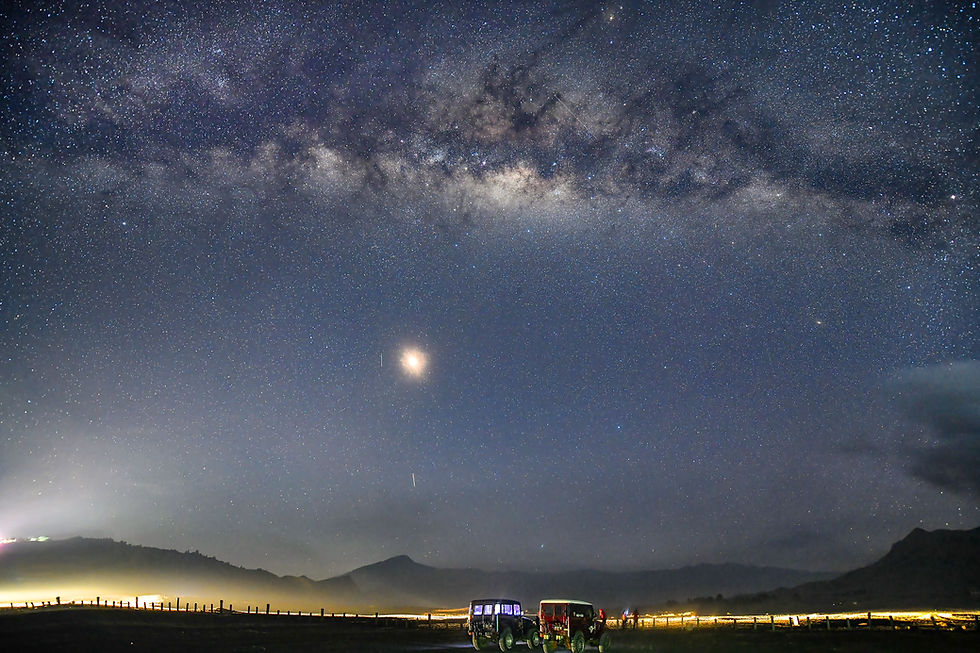
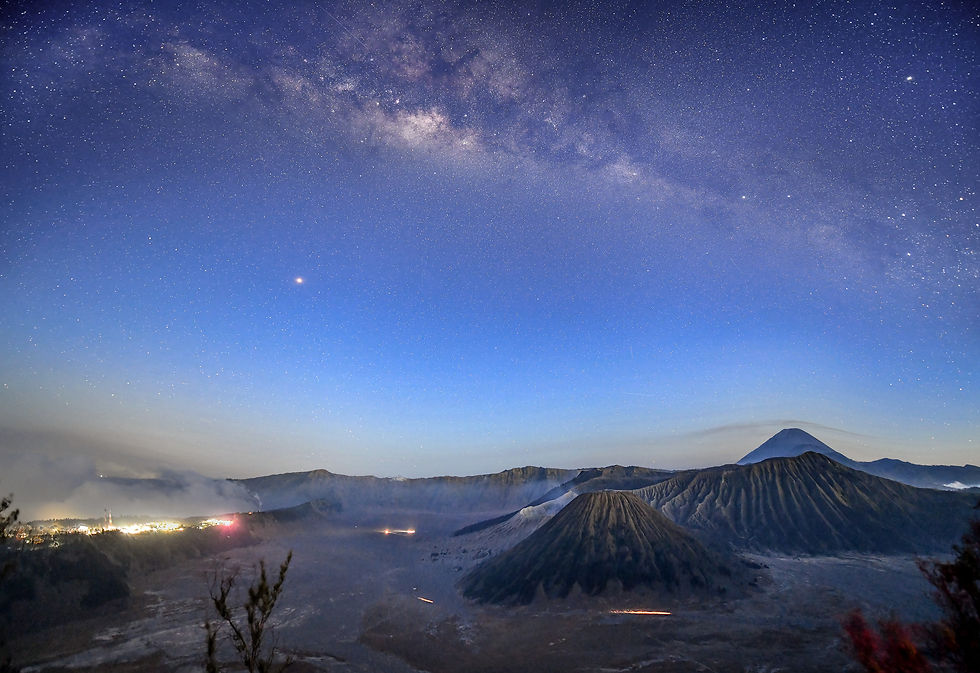
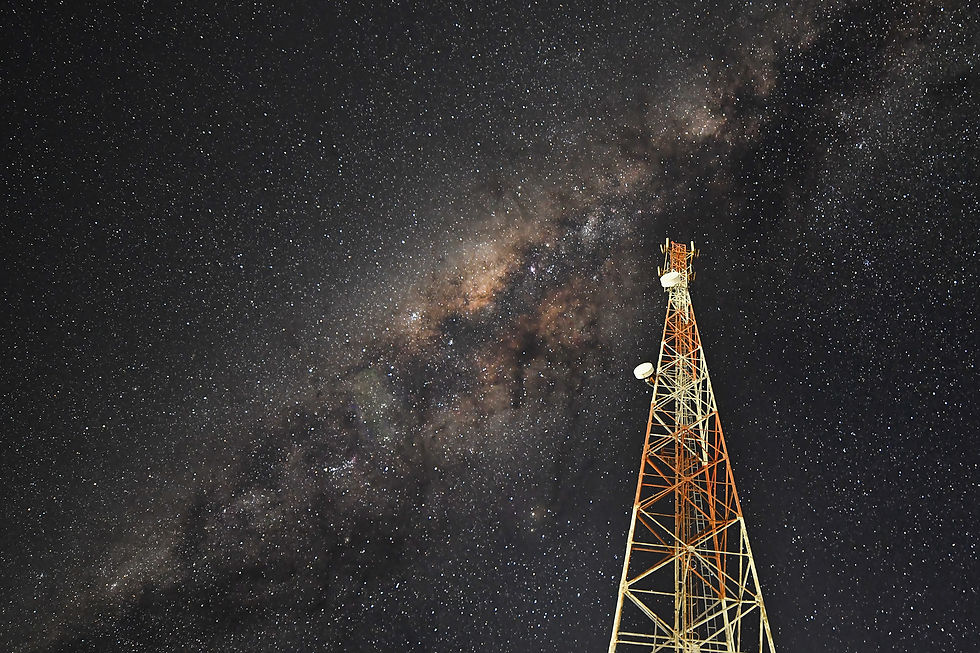
More startrail creations , the 2nd one below was only stacked with 34 shots.
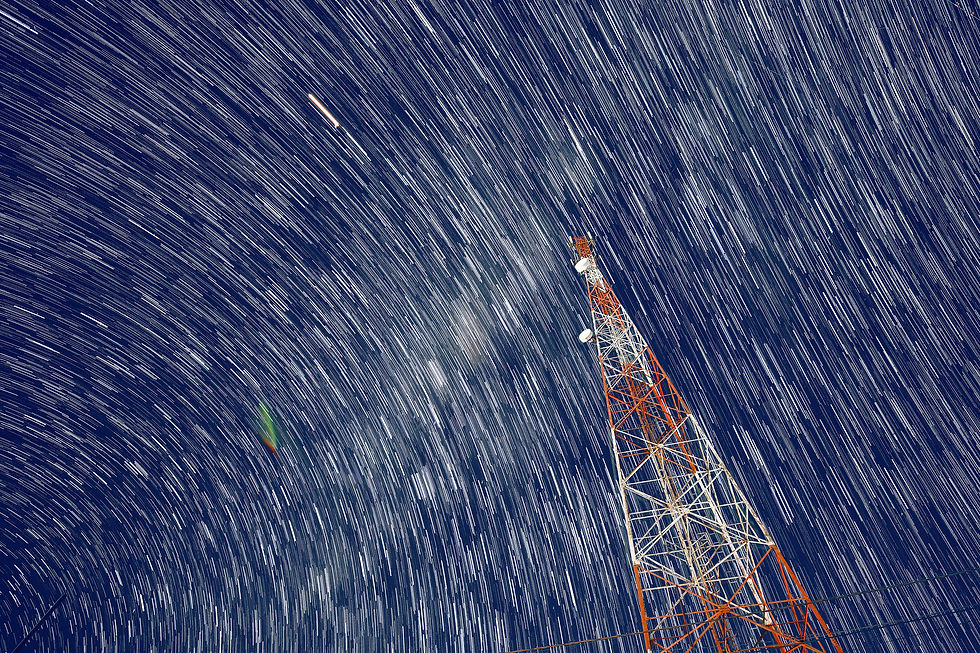
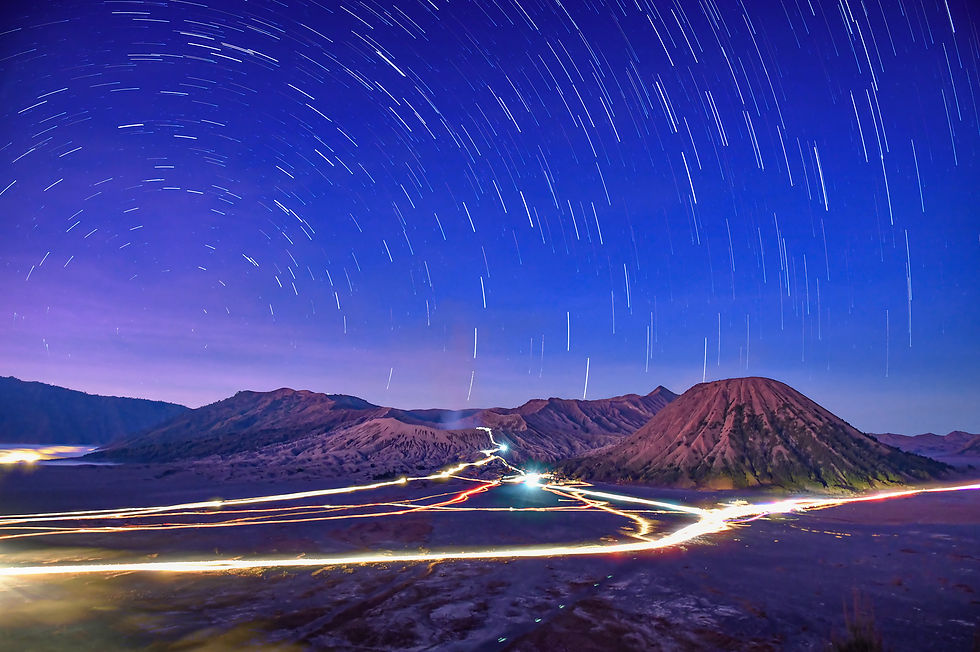
A couple more captures to end the blog ...... hope you liked the images shared.
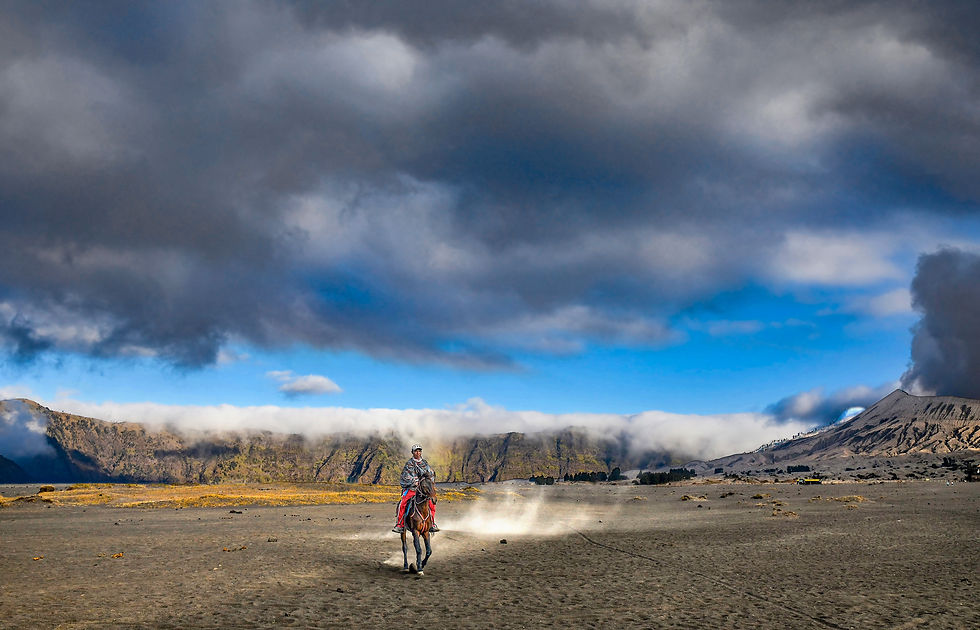
Thick seaclouds seen during sunrise.
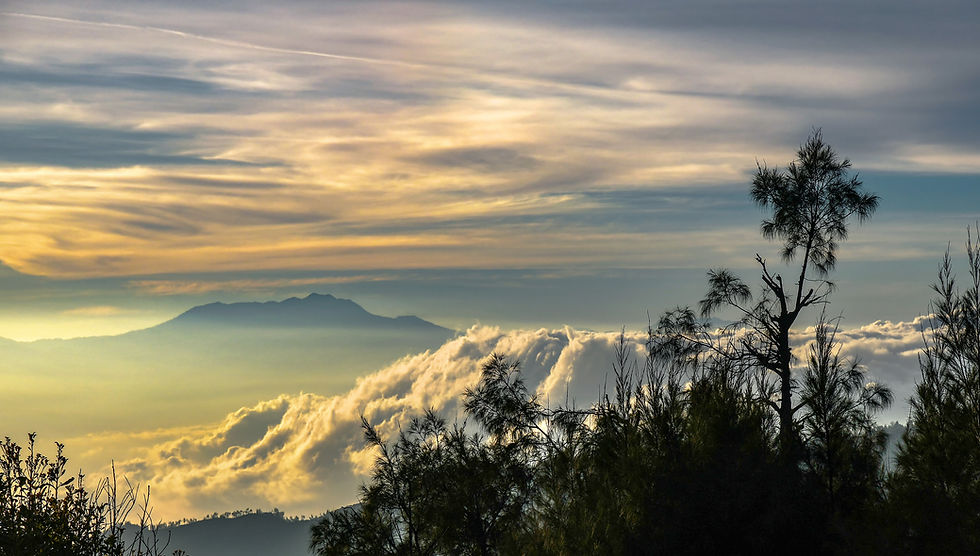
Beautiful dawn light captured using a 3 stops NiSi GND filter with my Nikkor 14-24mm lens
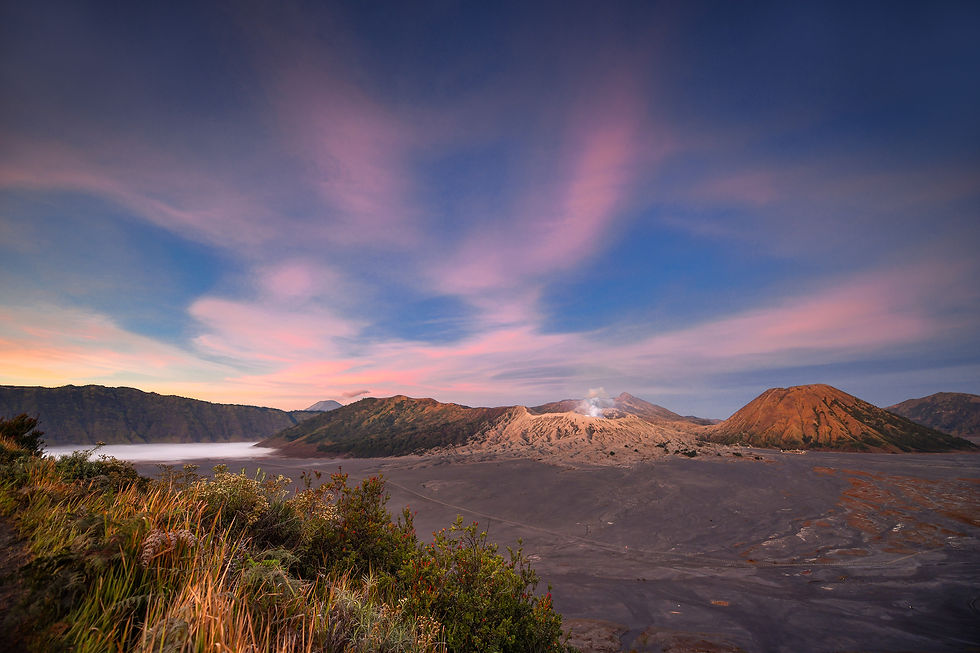
As mentioned , I was very fortunate to have had 100% success rate with the milkyway captures this time around. Every night the milkyway was just crystal clear and I could see it with my own eyes. I do have to mention though that the Nikon D850 is just a superb camera for milkyway / night sky captures even if you don't have a fast f2.8 wide angle lens as the high ISO performance was just superb. This DSLR has been producing some of my better milkyway captures to date.
For Nikon D850 users , my tip though is instead of shooting in RAW , try shooting the milkyway scenes in JPEG FINE* with the high ISO noise reduction set to normal. All my milkyway images are with this setup.
That's all for now folks , happy viewing & reading. Till my next blog.


Comments